Flutter에서 3D 이미지를 띄우는 방법을 찾고 찾다 방법을 찾아 기록한다.
먼저 .obj 파일만을 지원하고, .fbx 파일은 지원을 하지 않는다... .fbx 파일도 지원을 하면 좋겠지만 ㅠ
방법은 https://pub.dev/packages/flutter_cube에 있었다.
import 'package:flutter_cube/flutter_cube.dart';
... ...

@override
  Widget build(BuildContext context) {
    return Scaffold(
      body: Center(
        child: Cube(
          onSceneCreated: (Scene scene) {
            scene.world.add(Object(fileName: 'assets/cube/cube.obj'));
          },
        ),
      ),
    );
  }
설명에는 위와 같이 나와있었지만 이것만으론 설명이 부족했다.
그렇기에 찾은 방법을 공유하려 한다.
우선 .obj 파일만 있어서는 안된다.
이게 무슨 말이냐 하면 .obj, .obj.mtl, .png 파일이 있어야 한다는 의미이다.
먼저 pubspec.yaml에서 asset을 설정해준다.

그리고 위에서 언급한 3개의 파일을 한곳에 다 넣어준다.

화면에 띄우는 코드는 다음과 같다.
@override
  Widget build(BuildContext context) {
    return Scaffold(
      backgroundColor: Colors.white,
      body: Center(
        child: Row(
          mainAxisAlignment: MainAxisAlignment.center,
          children: [
            Container(
              height: MediaQuery.of(context).size.height * 7 / 10,
              width: MediaQuery.of(context).size.width * 7 / 10,
              child: Cube(
                onSceneCreated: (Scene scene) {
                  scene.world.add(Object(fileName: 'images/export.obj'));
                  scene.camera.zoom = 5;
                },
              ),
            ),
          ],
        ),
      ),
    );
  }
정상적인 3D 이미지를 띄우려면 파일은 세개가 필요하지만 코드상에서 사용하는 파일은 .obj 하나이다.
scene.camera.zoom = 5;만약 크기를 좀 더 키우고 싶다면, scene.camera.zoom을 높이면 된다.
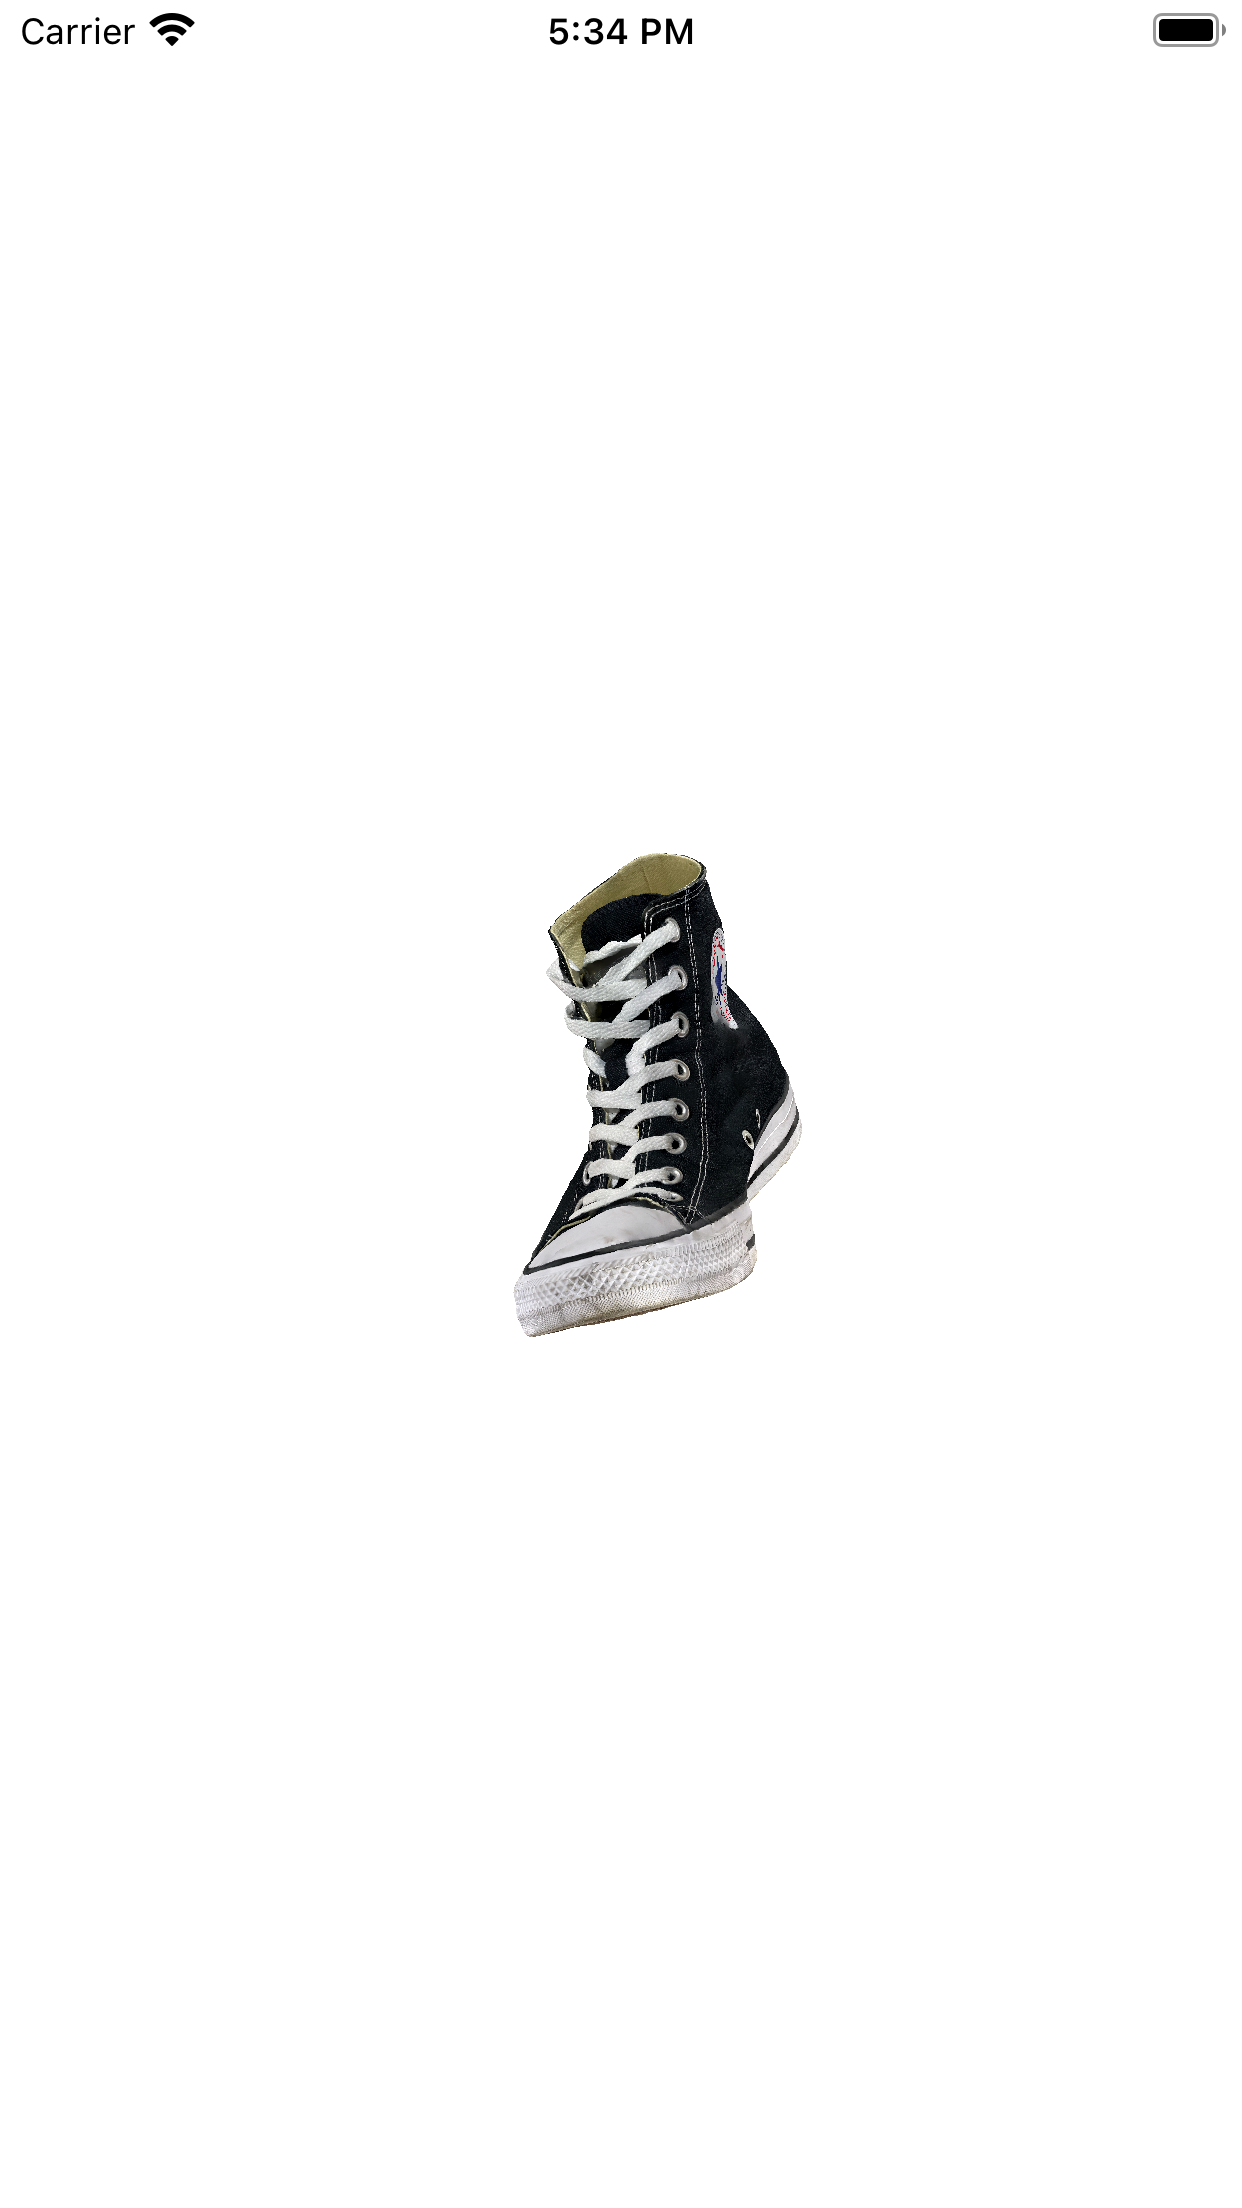
실행화면은 다음과 같다. 잘 작동하는 것을 확인할 수 있다.

'Flutter' 카테고리의 다른 글
| <Flutter> Command PhaseScriptExecution failed with a nonzero exit code 오류 해결 (1) | 2023.05.09 |
|---|---|
| <Flutter> Flutter와 Unity 연결하는 방법 (0) | 2023.04.03 |
| <Flutter> iOS 에뮬레이터 CocoaPods's specs repository is too out-of-date to satisfy dependencies 에러 (0) | 2021.09.03 |
| <Flutter> 플러터 상에서 url 연결하는 방법 (0) | 2021.08.10 |
| <Flutter> Dot indicator 사용 (0) | 2021.07.09 |


